Improving audio quality in your videos is one of the fastest ways to elevate your content. Whether you're filming on a smartphone or a mirrorless camera, this guide walks you through the essential steps—from choosing the right mic to editing your sound—so your voice comes through clearly, confidently, and professionally.
Why Audio Quality Matters More Than You Think
Viewers will tolerate shaky visuals, but poor sound? That’s a dealbreaker. Clear audio builds trust, keeps attention, and makes your content feel polished—even if you're filming on the go.
Step 1: Choose the Right Microphone for Your Setup
Your mic should match your workflow and environment. Here’s how to pick the right one:
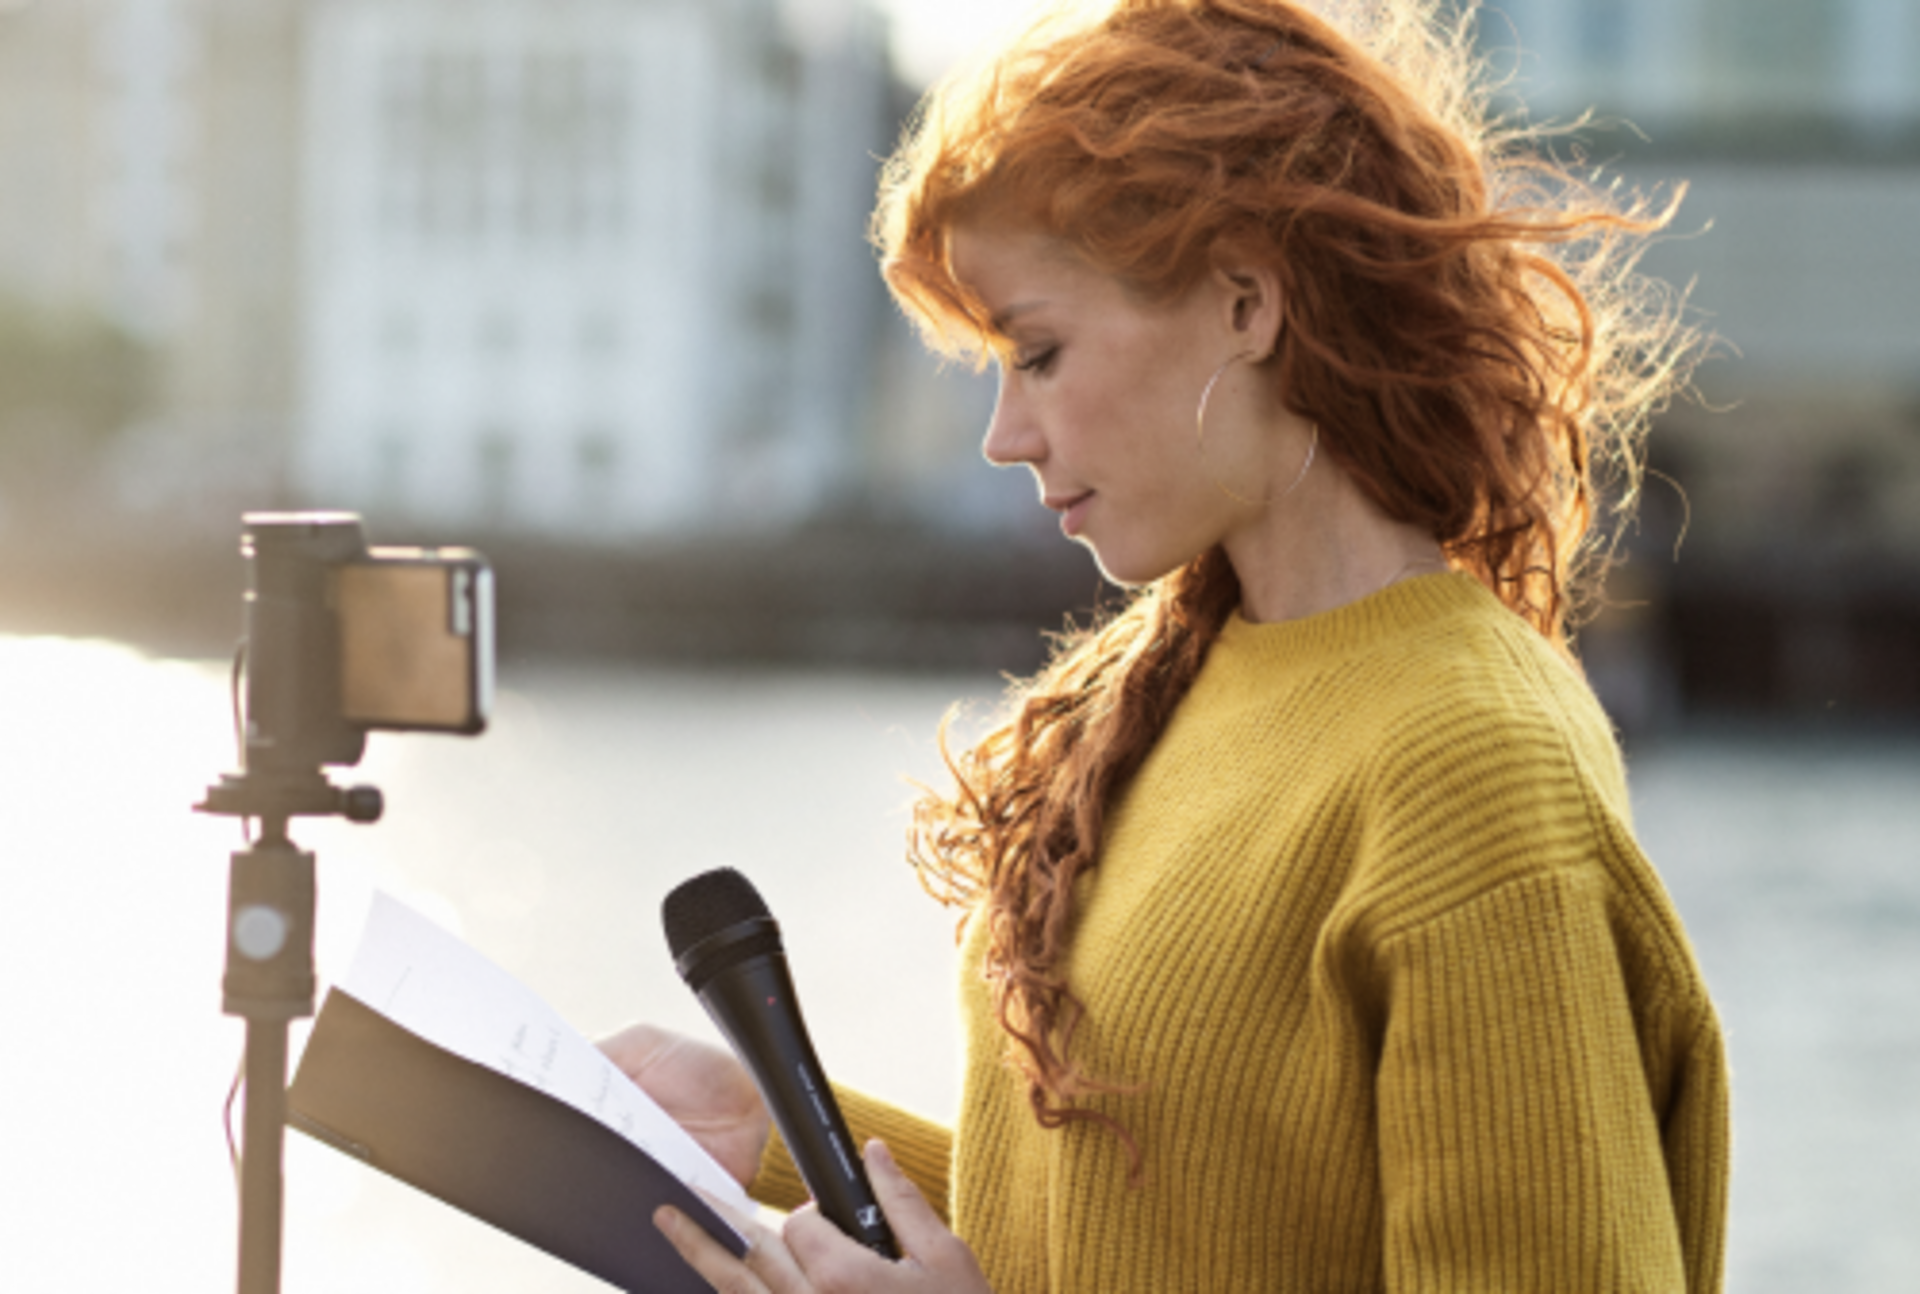
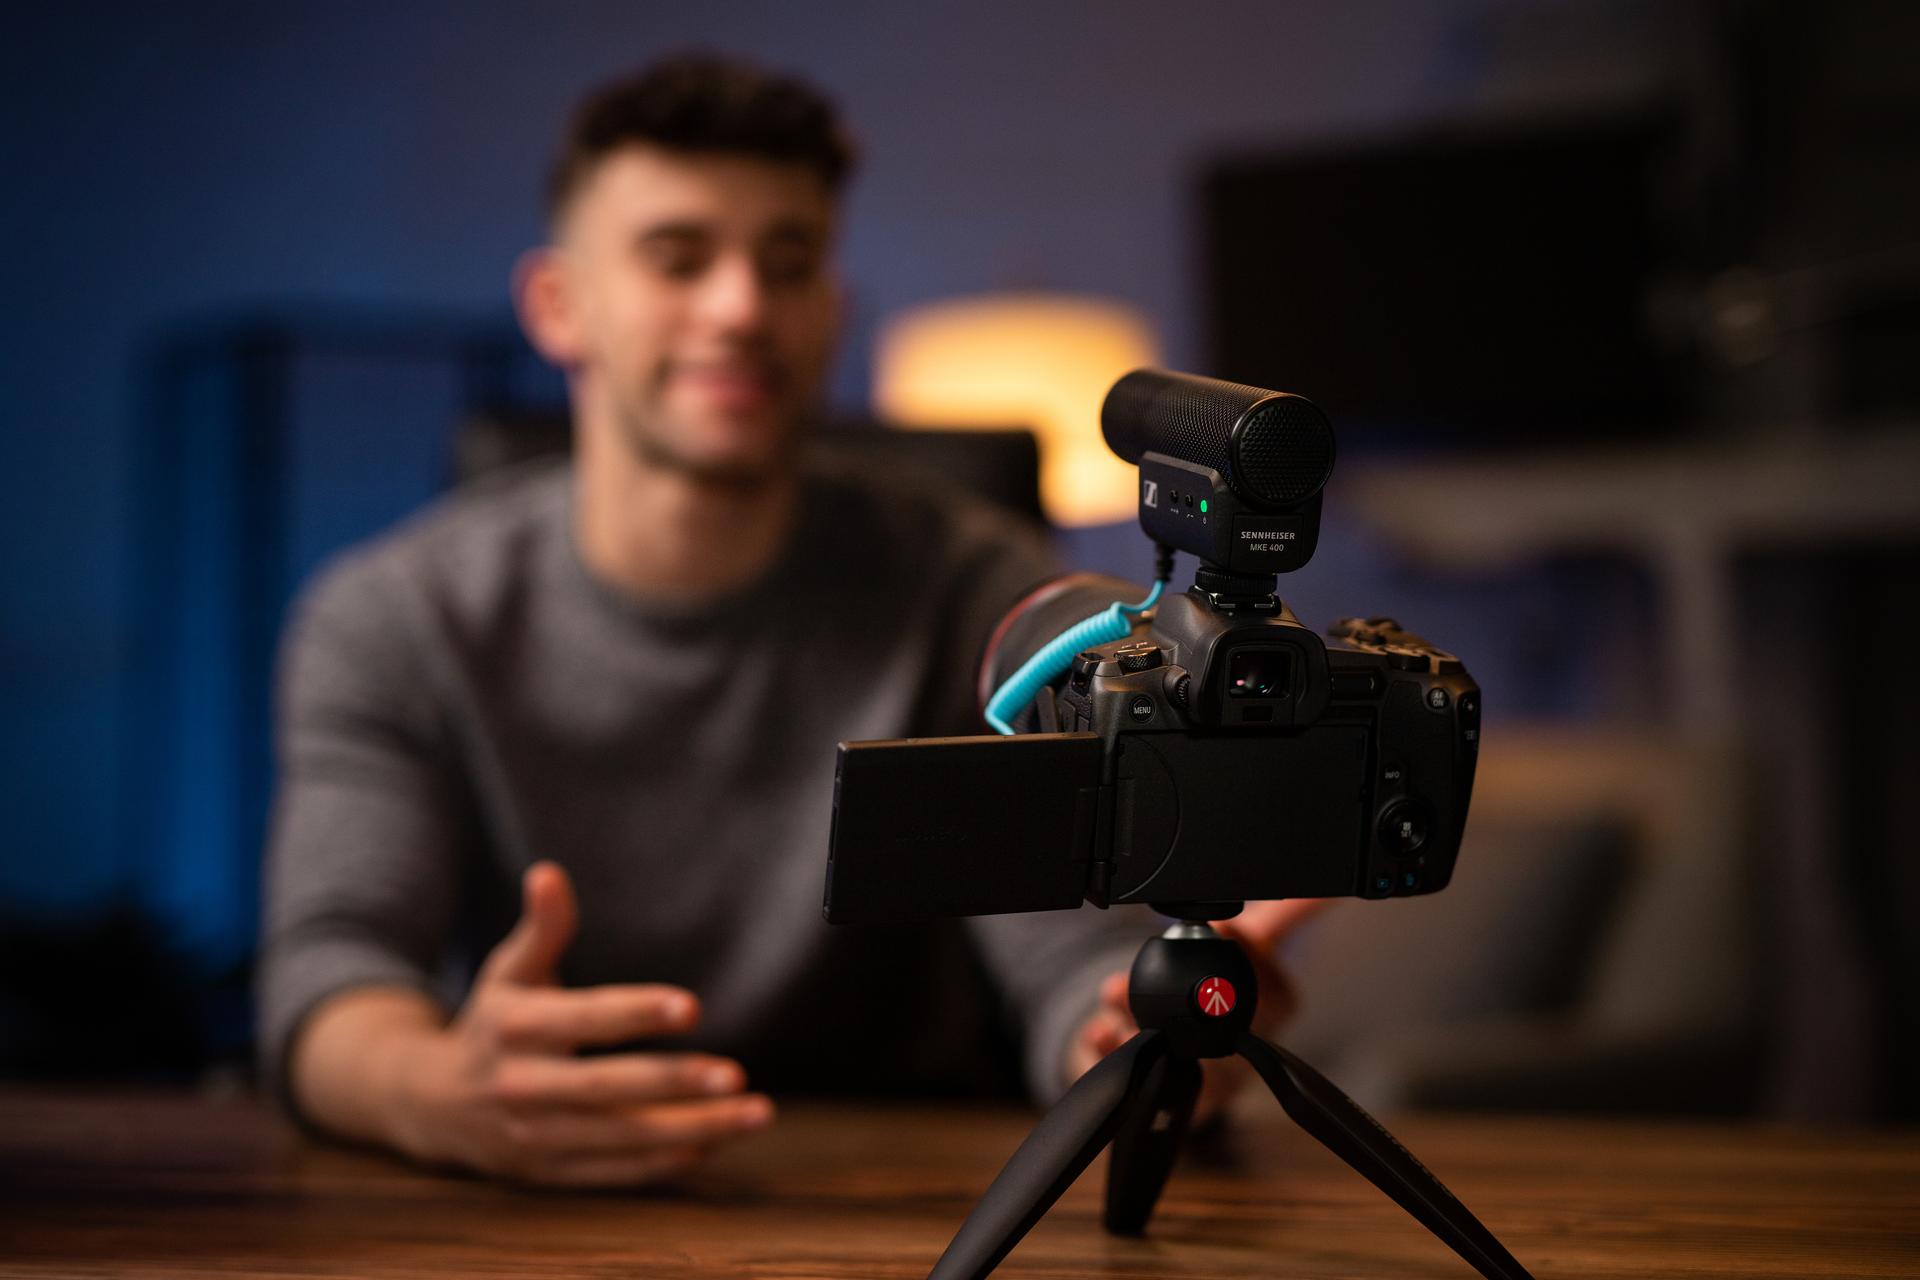
For Mobile Vlogging
Use a compact shotgun mic like the Sennheiser
MKE 400.
- Supercardioid pattern isolates your voice
- Built-in wind protection and shock mount
- Compatible with smartphones and cameras
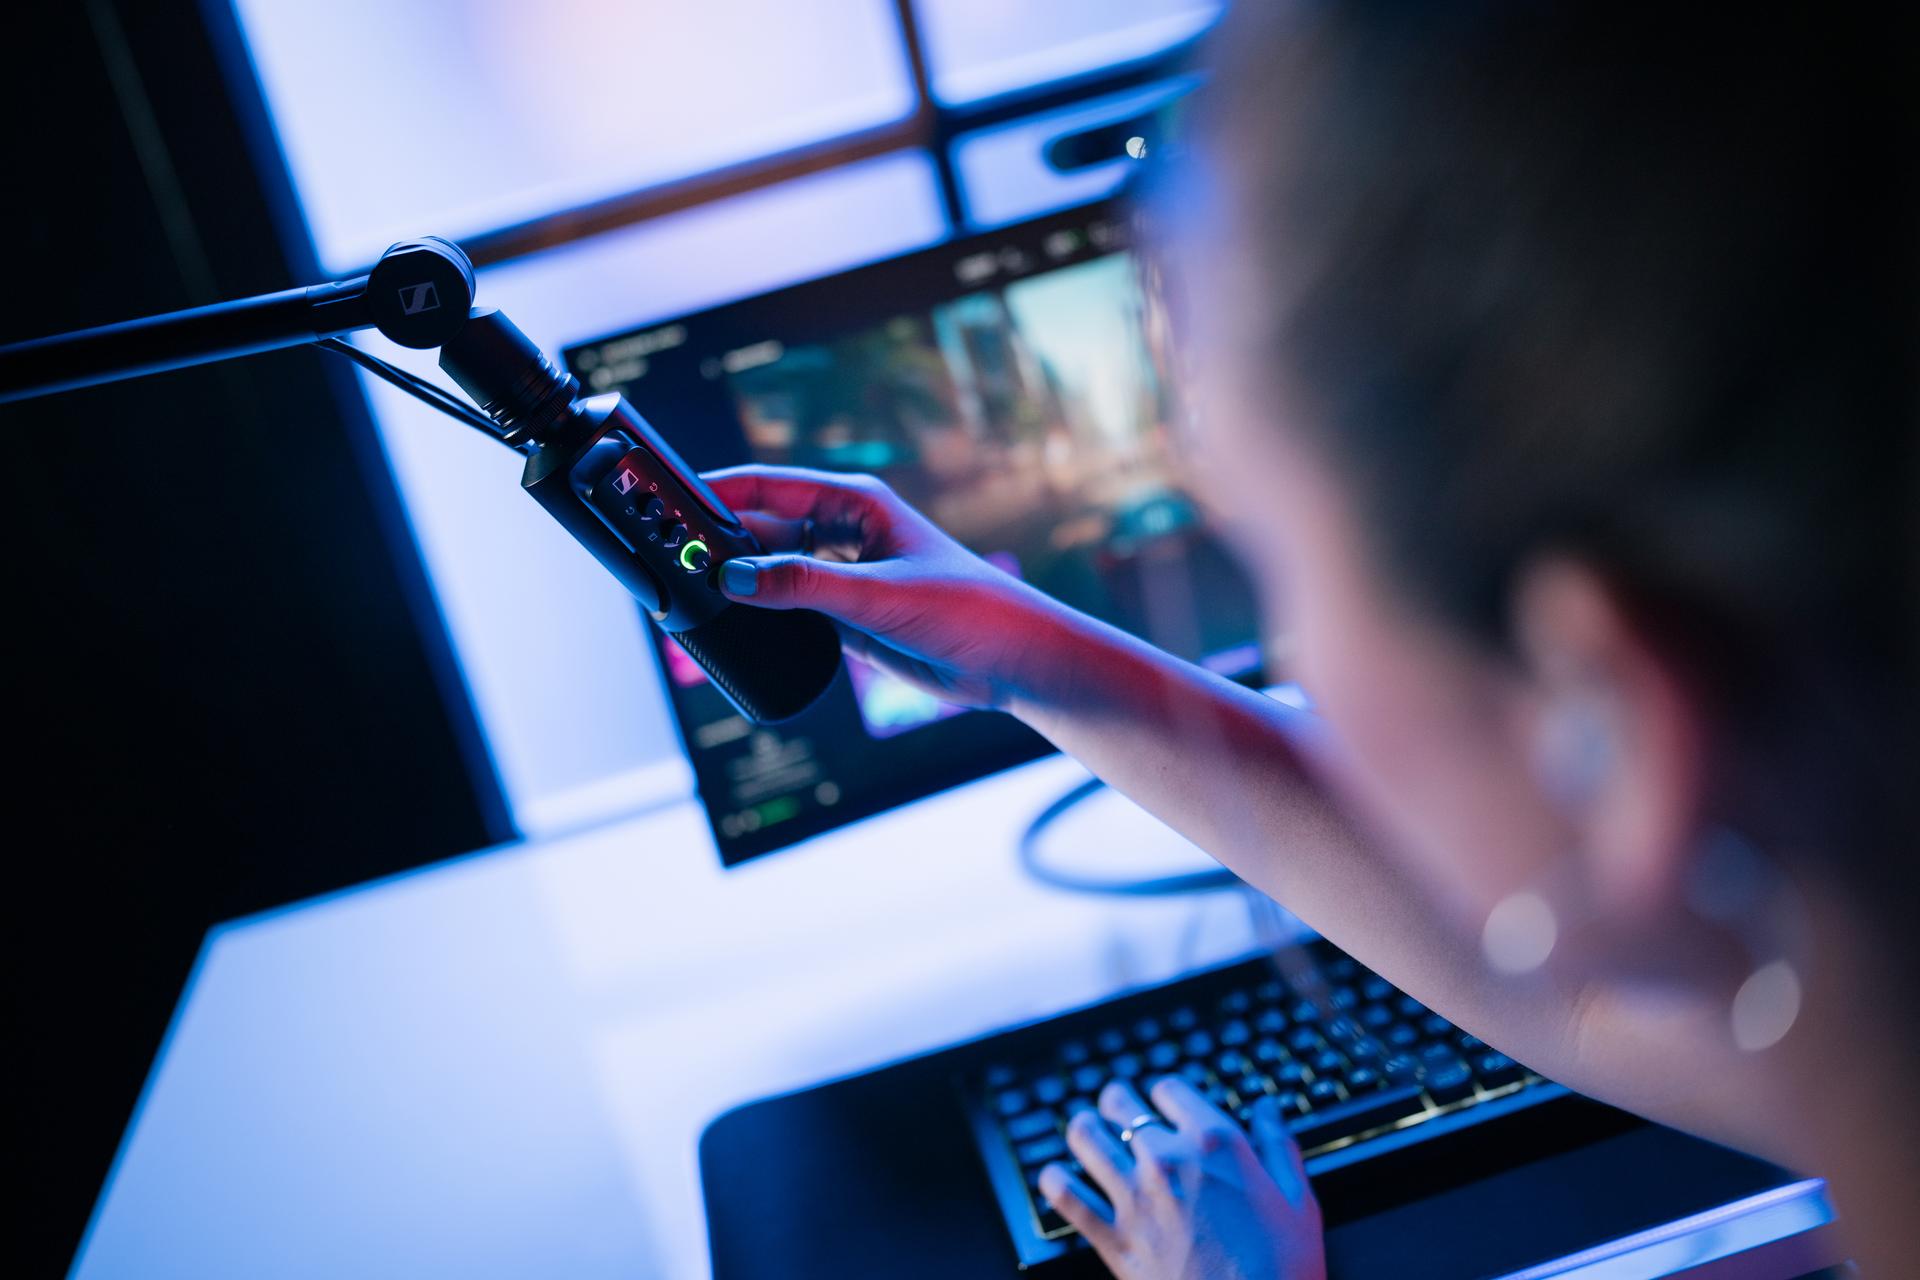
For Desk-Based Tutorials & Streaming
- Plug-and-play via USB-C
- Real-time headphone monitoring
- Gain and mute controls for quick adjustments
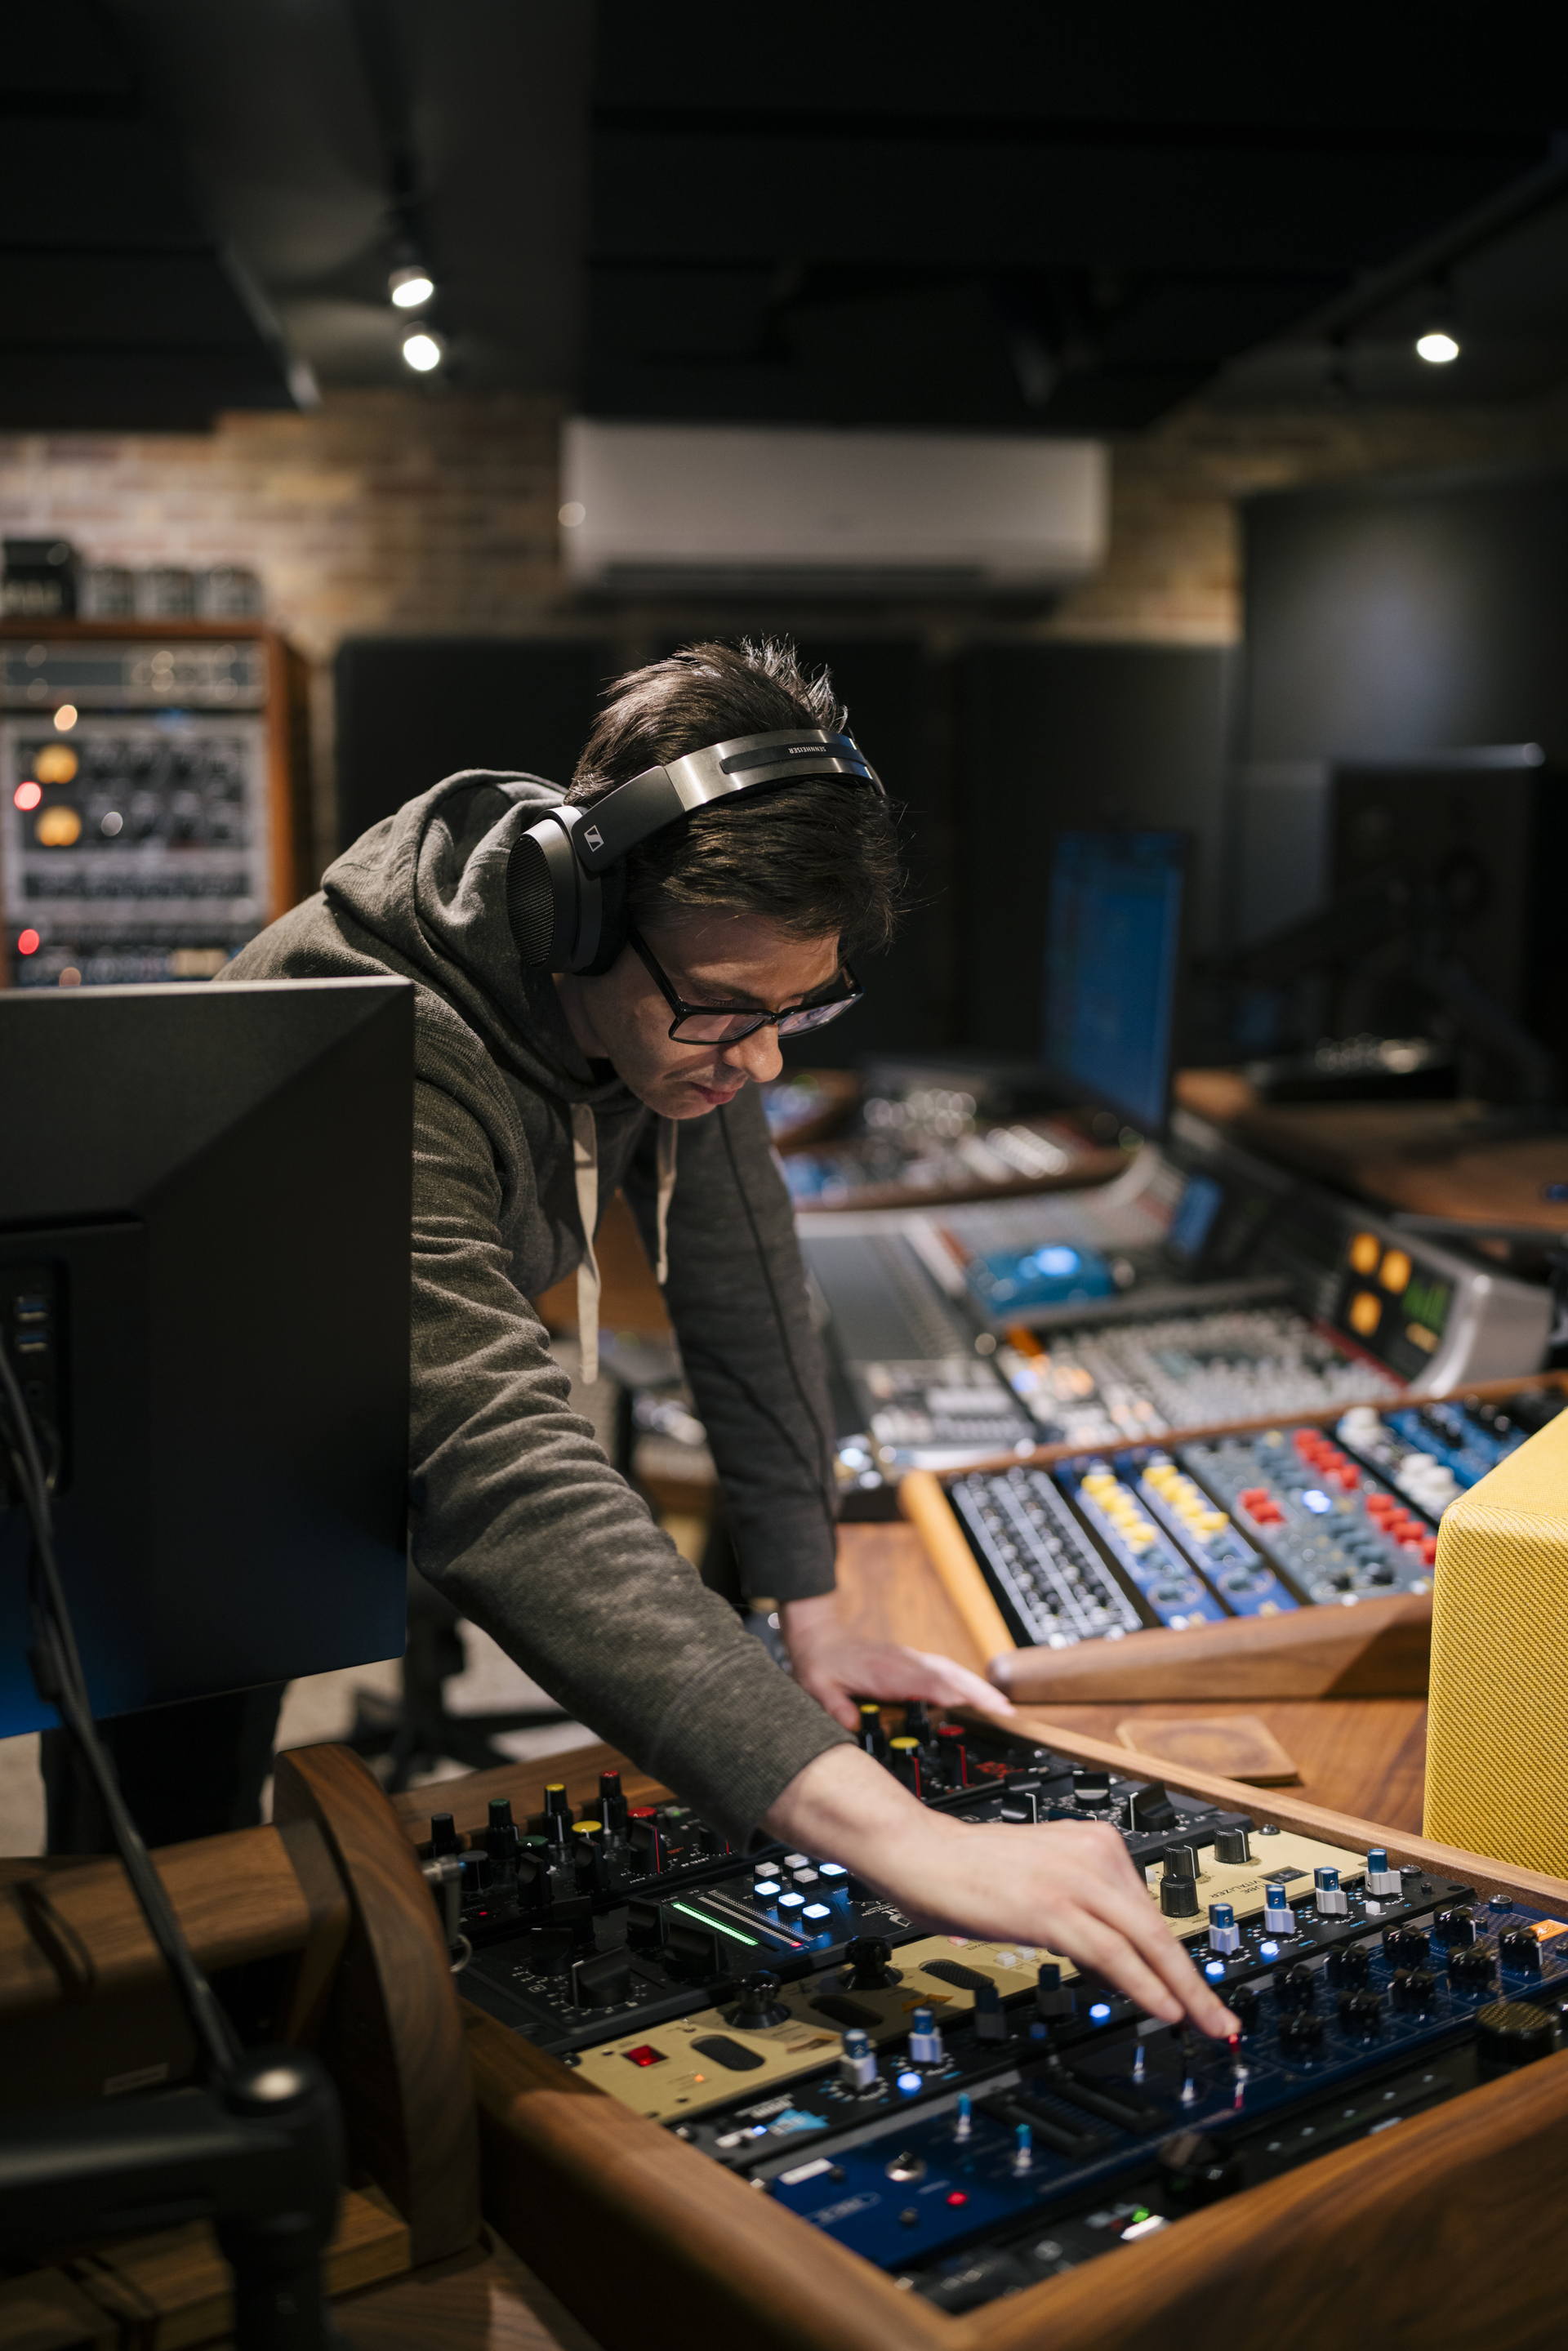
For Studio-Level Voiceovers & Music
- Large diaphragm for rich, detailed sound
- Ideal for narration, acoustic instruments, and cinematic storytelling
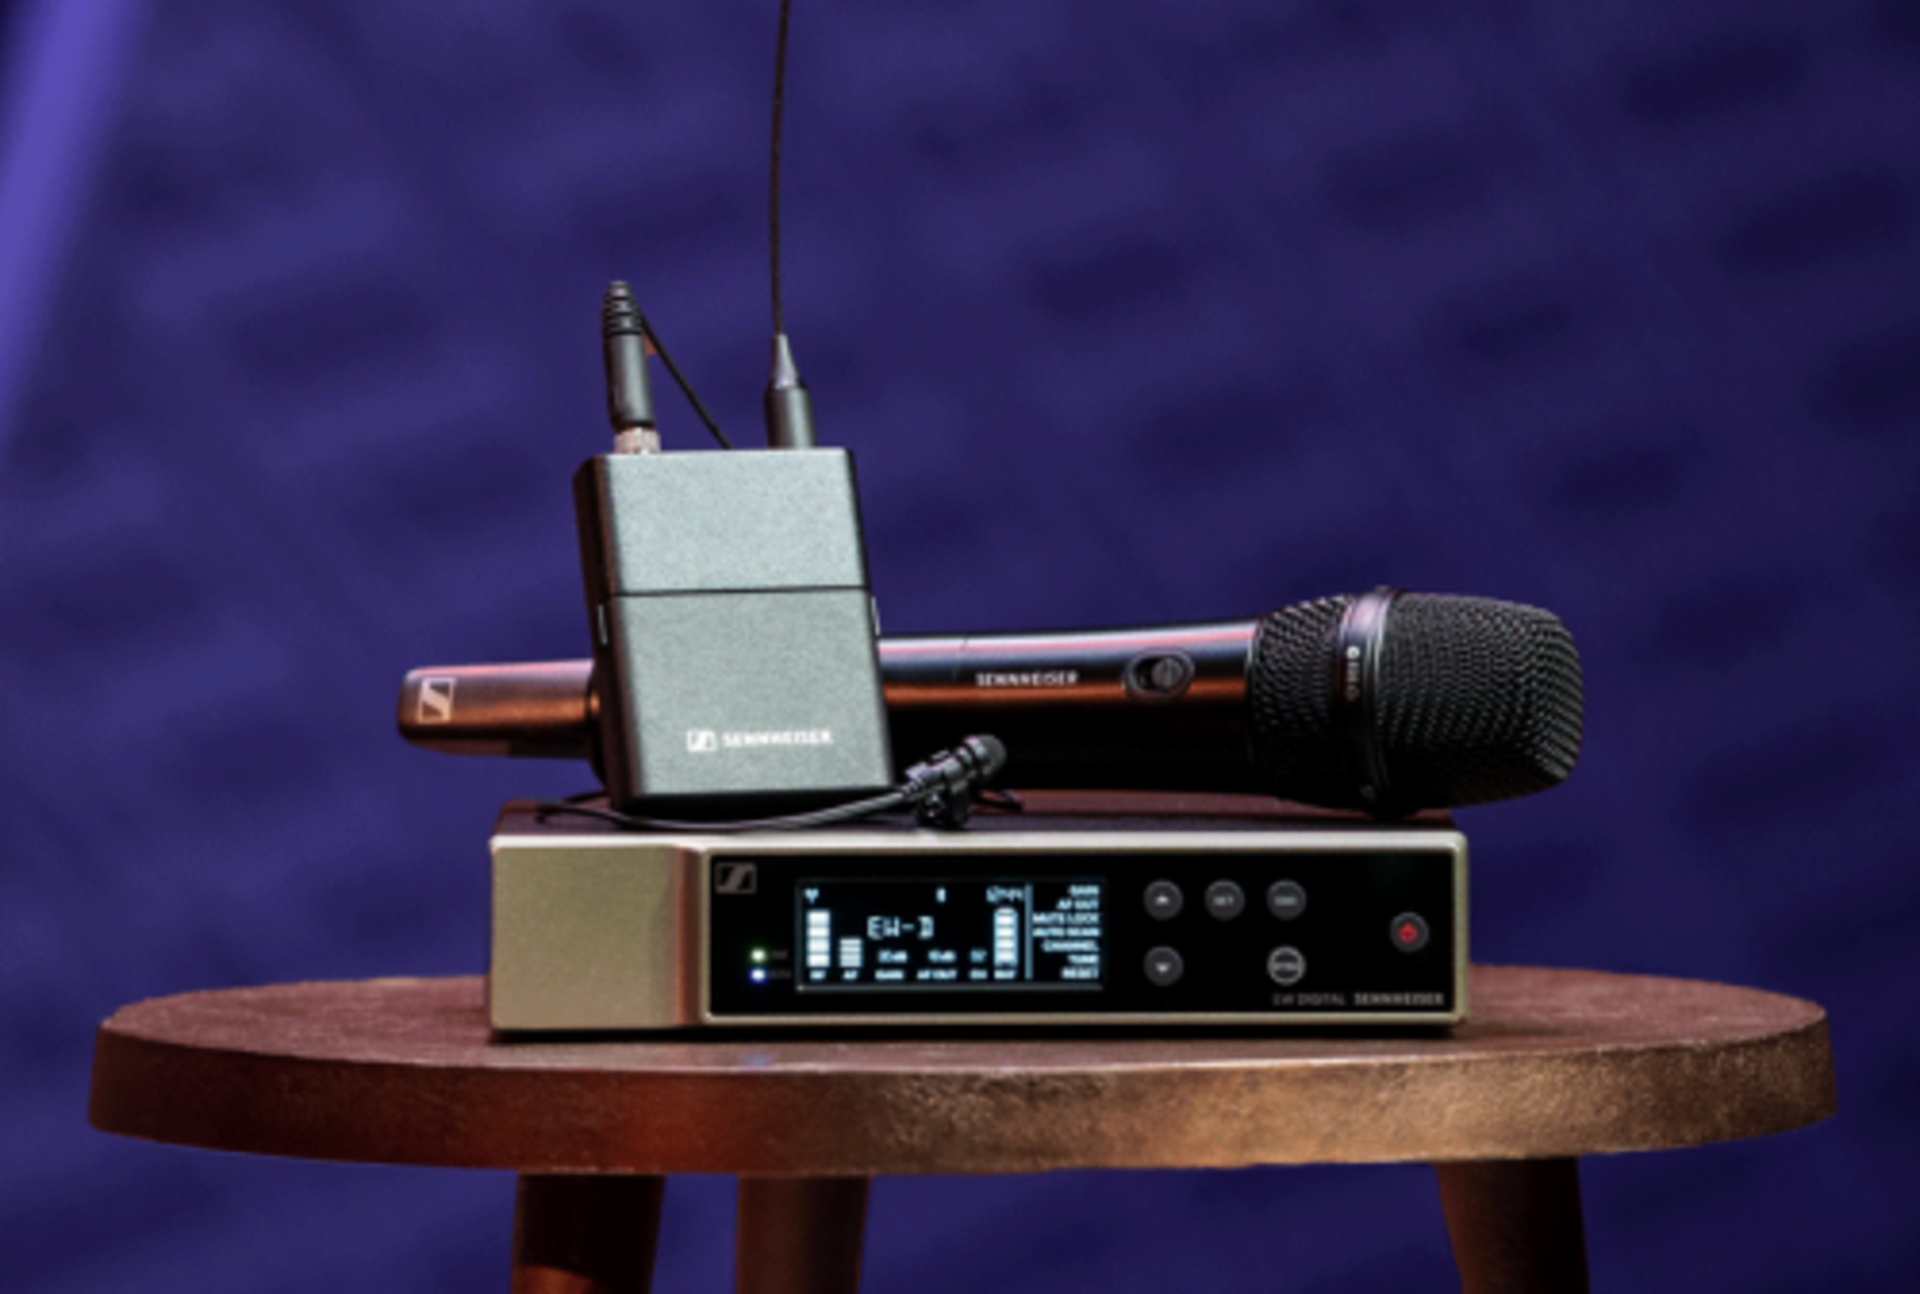
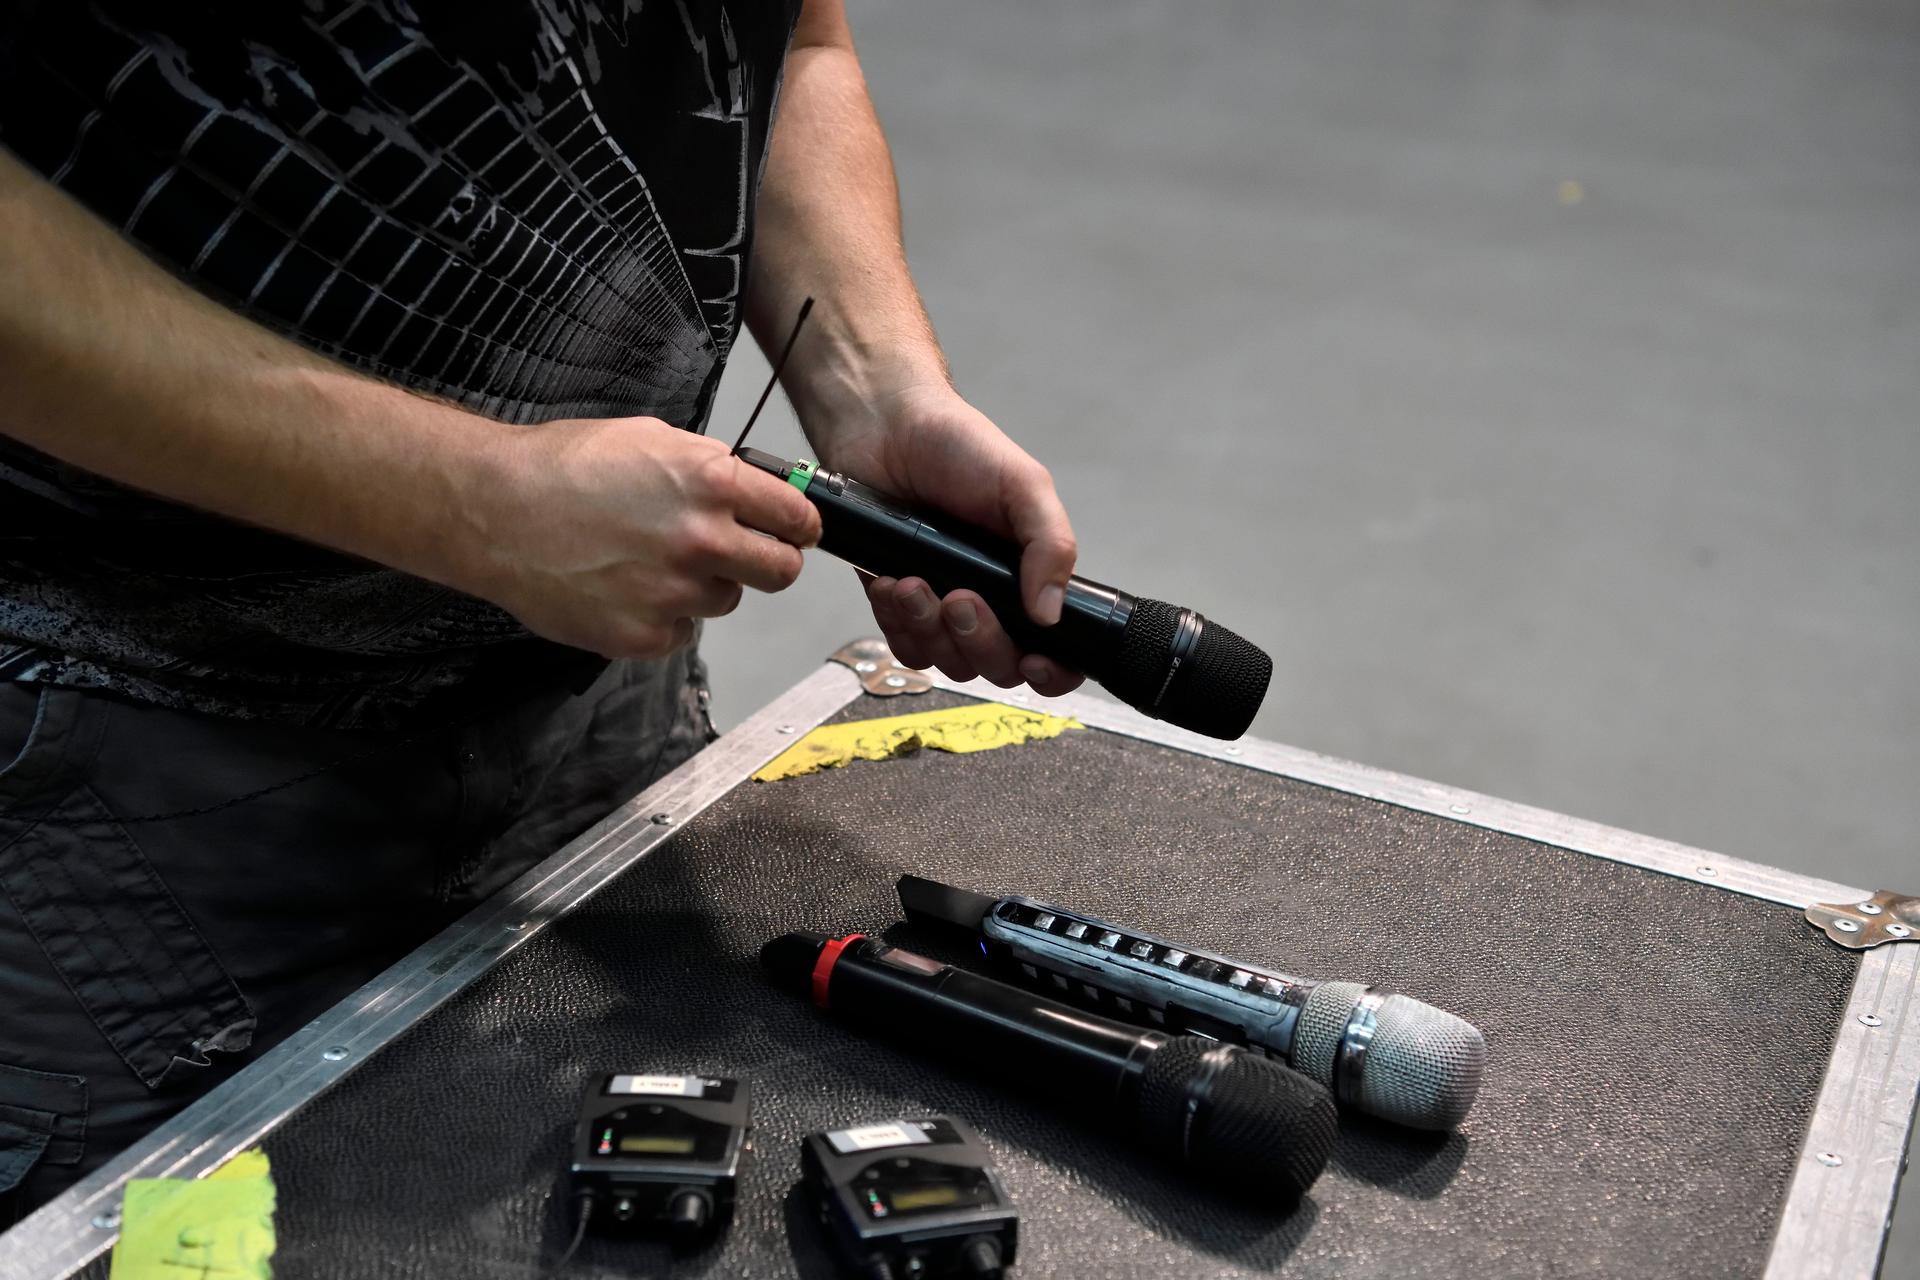
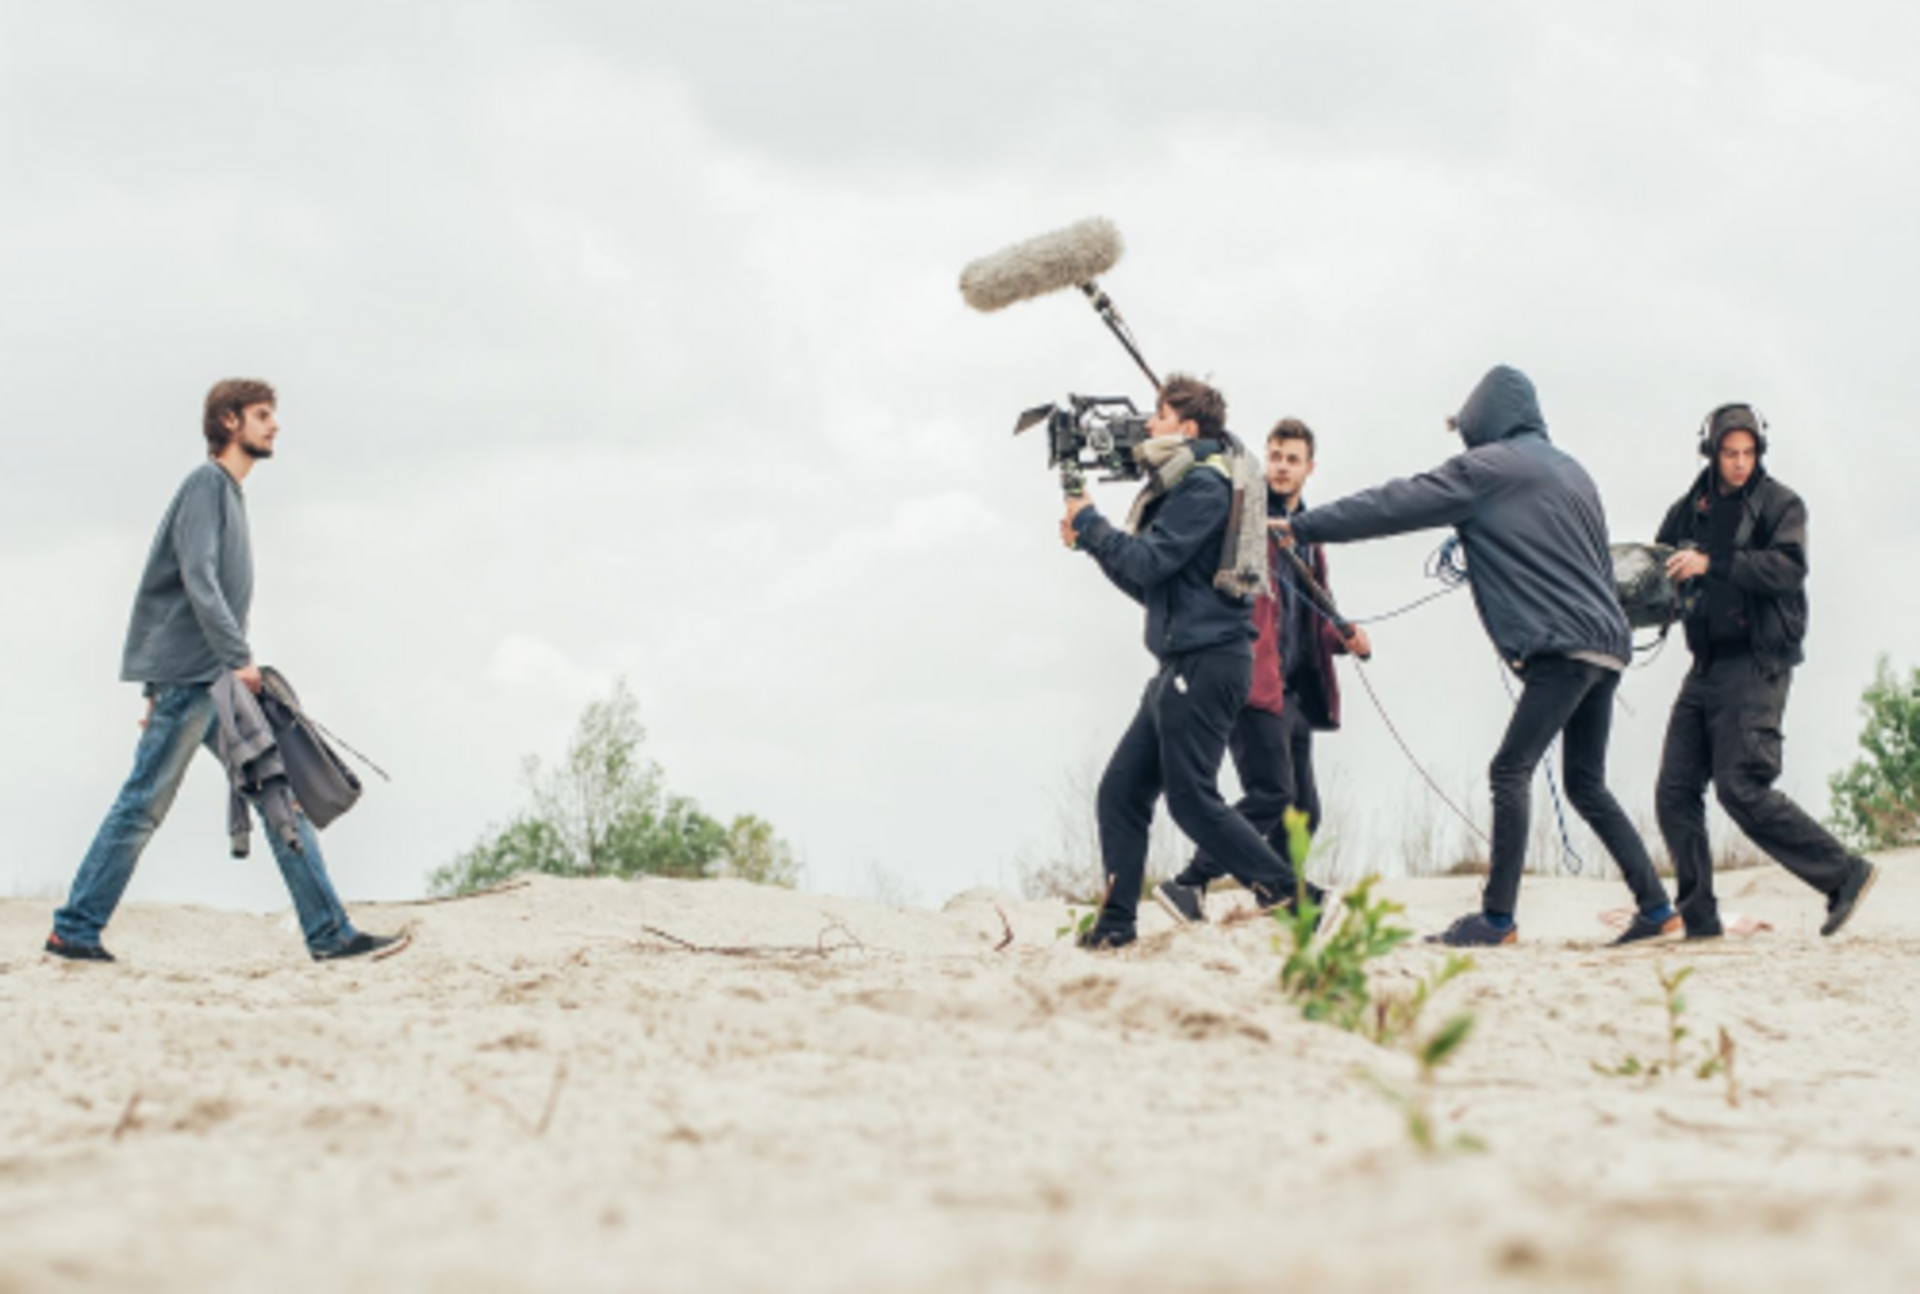
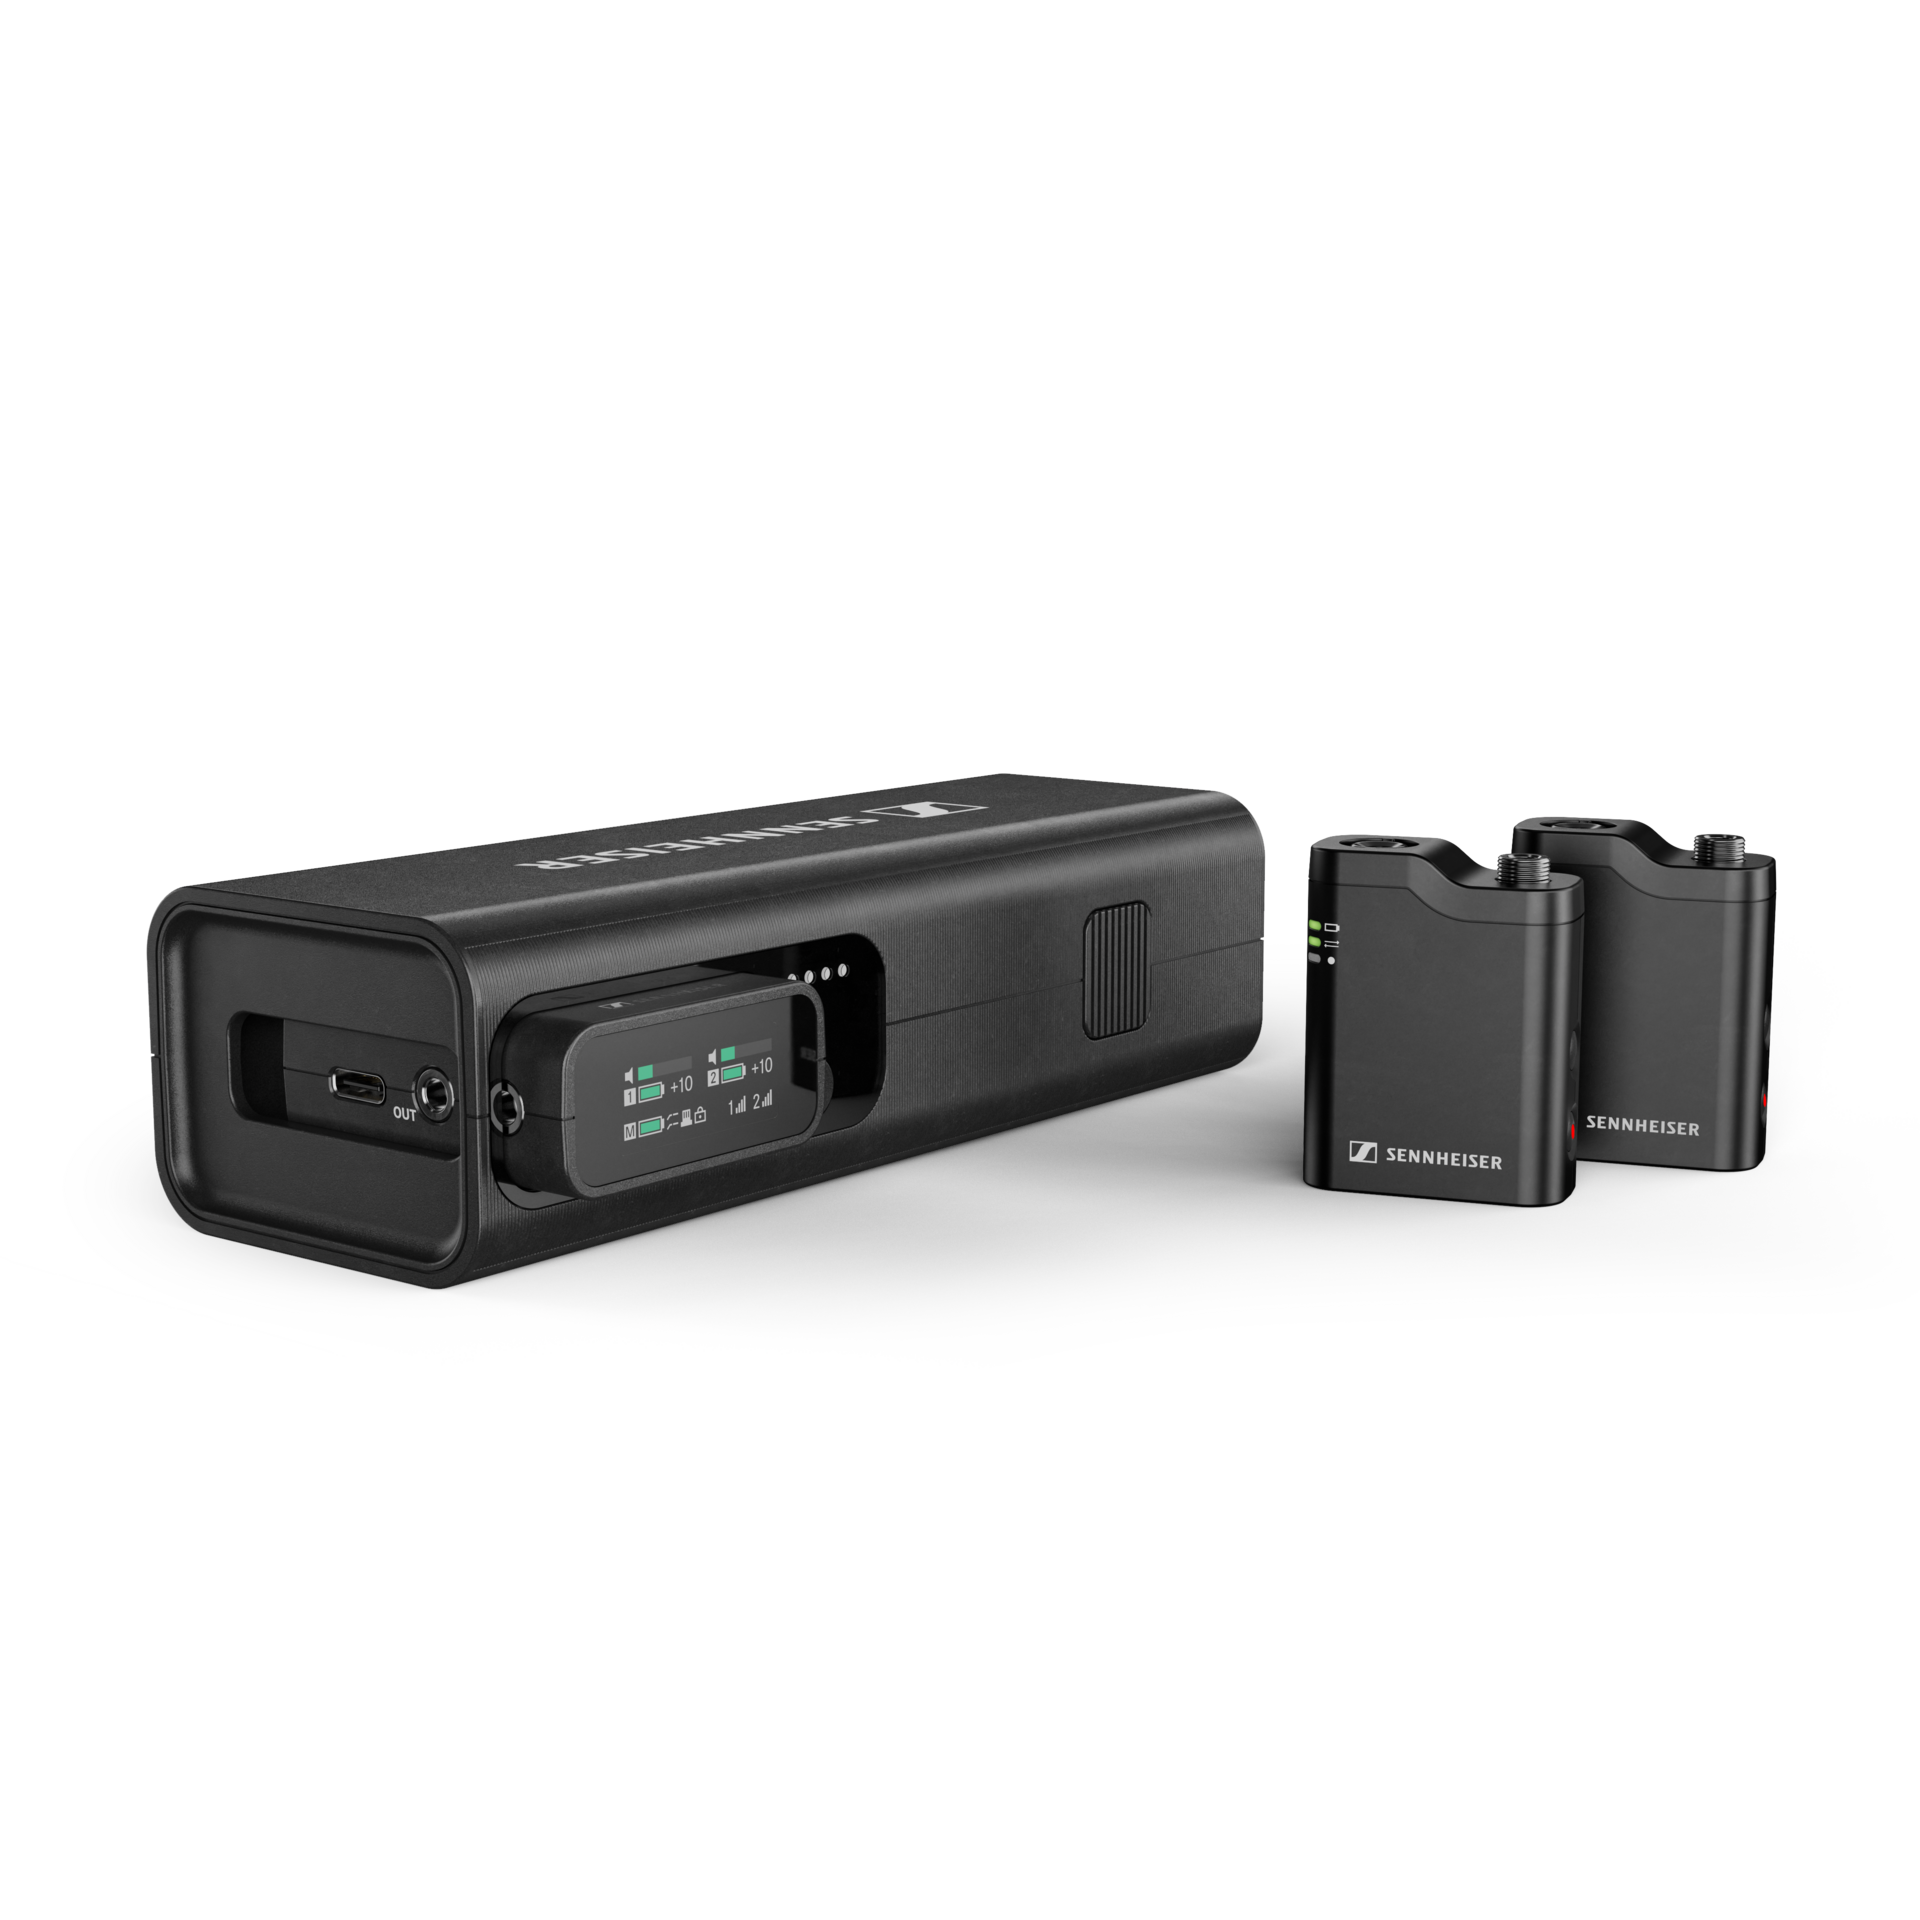
- Bonus Tip: Wireless systems like the Profile Wireless Set offer freedom of movement and backup recording—perfect for interviews and walk-and-talks.
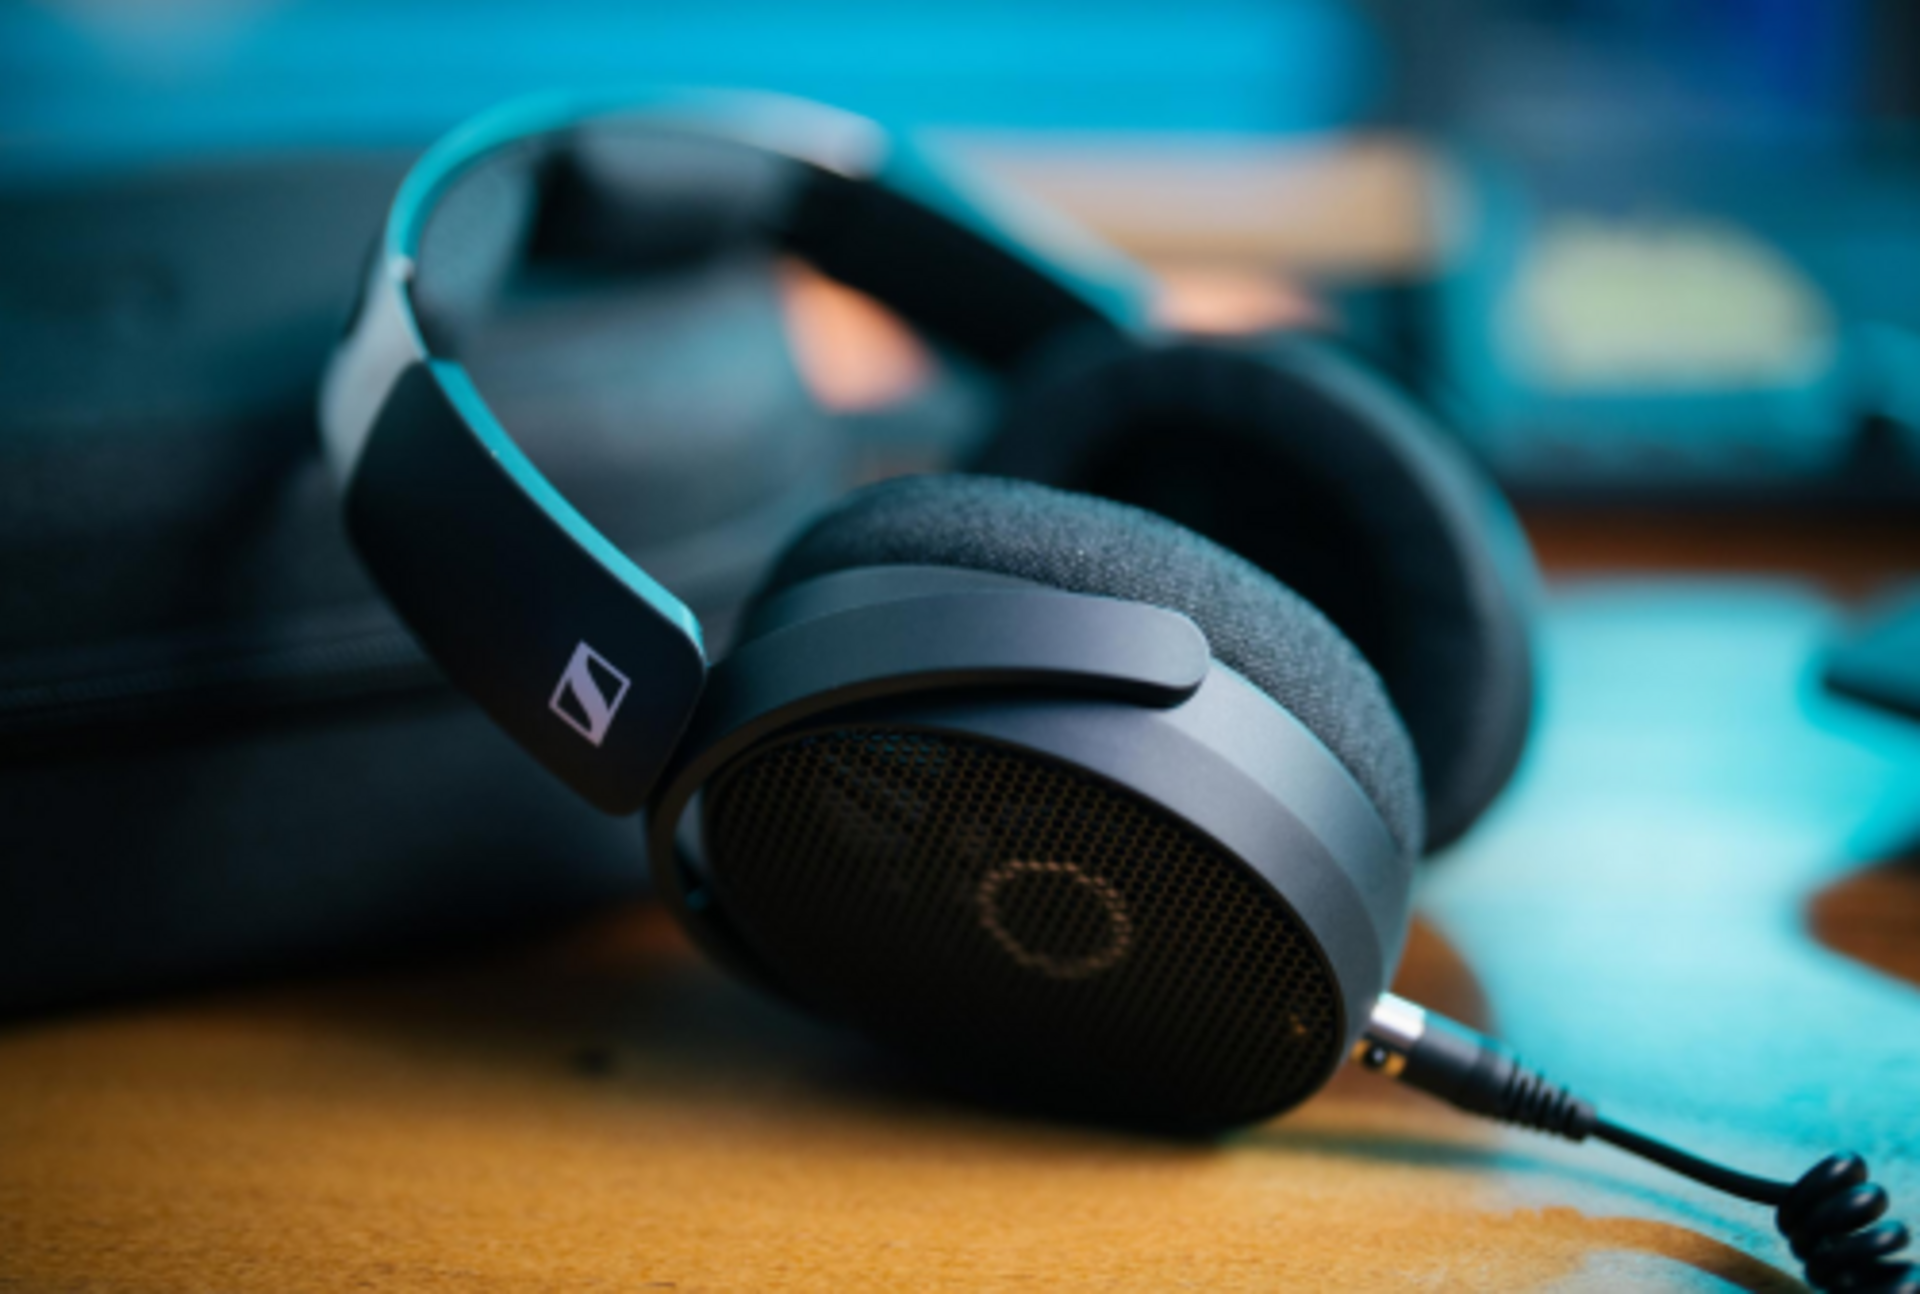
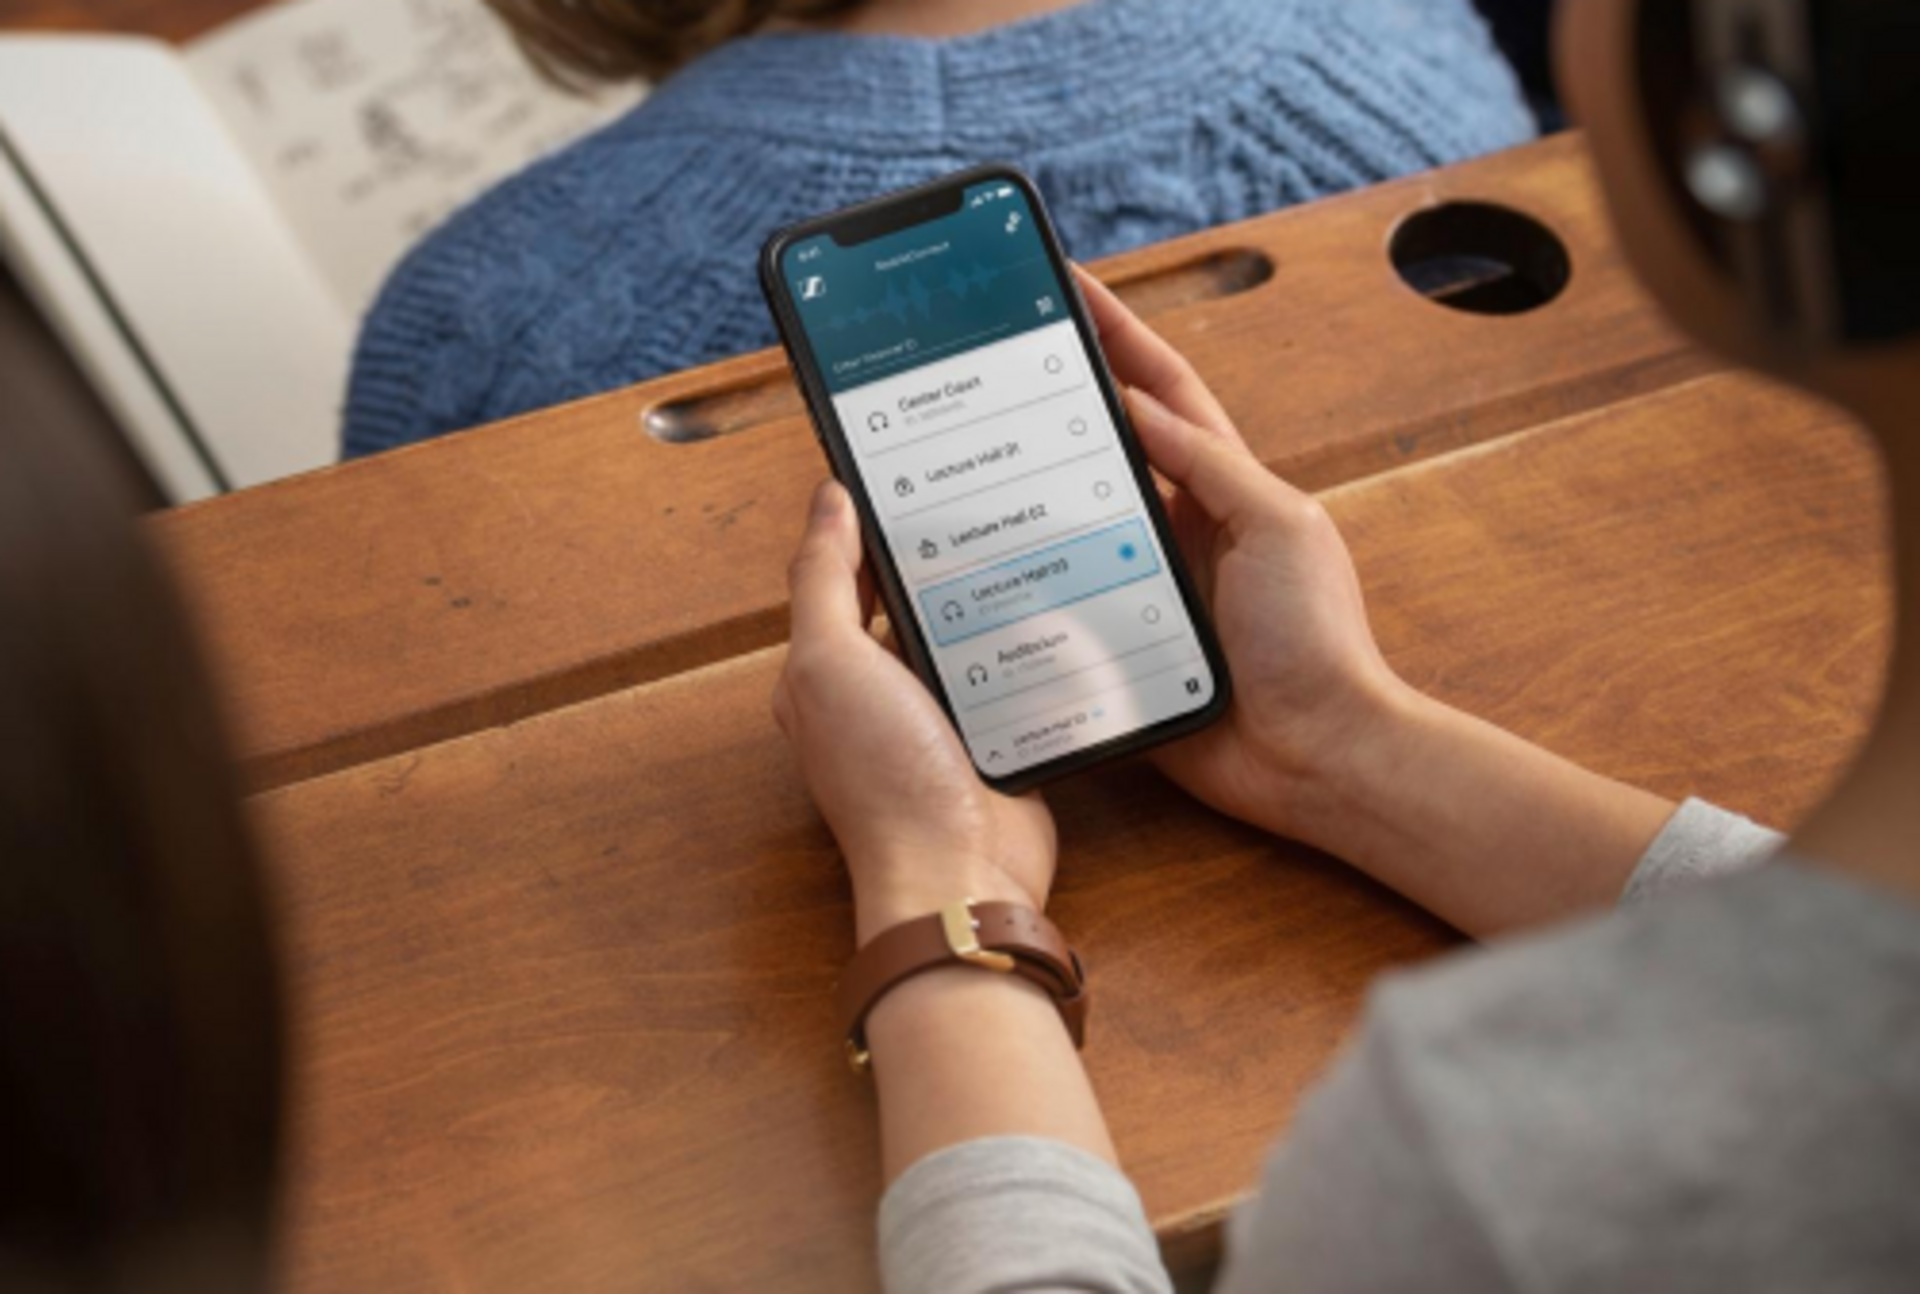
Step 2: Monitor Your Audio in Real Time
Real-time monitoring helps you catch issues before they ruin a take. Look for mics with:
- Headphone output
- Gain control
- Mute switch
This lets you adjust levels, avoid clipping, and ensure your voice is clear and balanced.
Step 3: Control Your Environment
Even the best mic can’t fix a noisy room. Here’s how to optimize your space:
- Reduce echo: Use curtains, rugs, or foam panels.
- Minimize background noise: Turn off fans, close windows, silence devices.
- Use wind protection: Outdoors? A built-in windscreen or deadcat is essential.
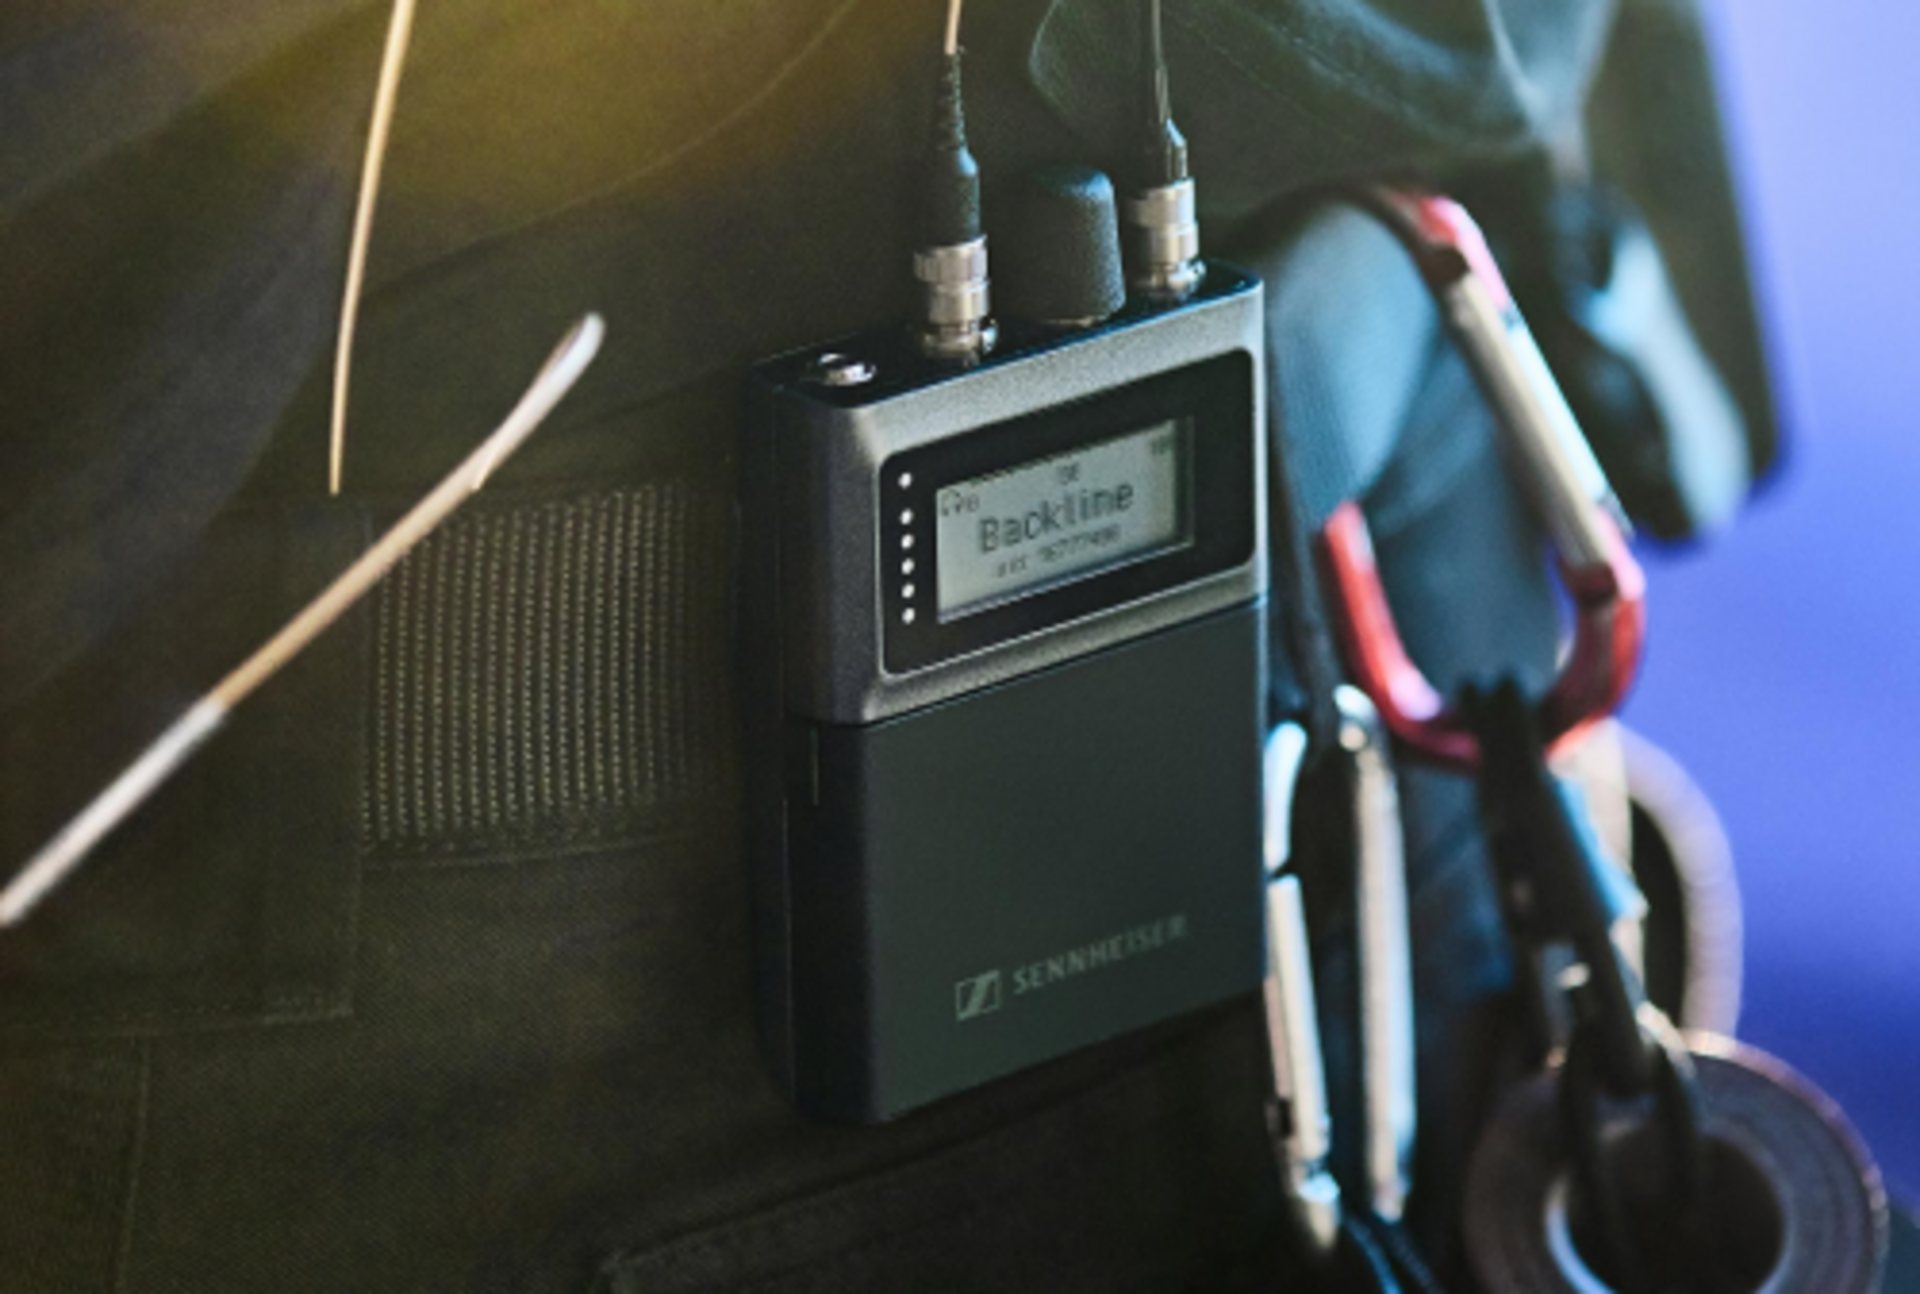
Step 4: Use Backup Recording When Possible
If your mic supports it (like the
Profile Wireless), enable safety channel mode or backup recording. This captures a second audio track at a lower gain—saving your take if the main track clips.
Step 5: Match Audio to Your Visuals
Good sound design enhances storytelling. Consider:
- Ambient sound: Add subtle background audio to set the scene.
- Music: Use royalty-free tracks to build emotion.
- Voice clarity: Prioritize intelligibility over loudness.
Step 6: Edit and Mix Your Audio
Post-production is where your audio shines. Use tools like:
- EQ: Cut low rumble and boost vocal clarity.
- Compression: Smooth out volume spikes.
- Noise reduction: Remove hiss or hum.
Free tools like Audacity or paid options like Adobe Audition can help.
Step 7: Test Your Setup Before You Record
Always do a quick test:
- Record a short clip
- Listen with headphones
- Adjust mic placement and gain
This simple habit saves time and ensures professional results.
Quick Recap: Your Audio Quality Checklist
- Choose the right mic
- Monitor in real time
- Control your environment
- Use backup recording
- Match sound to visuals
- Edit and mix audio
- Test before recording
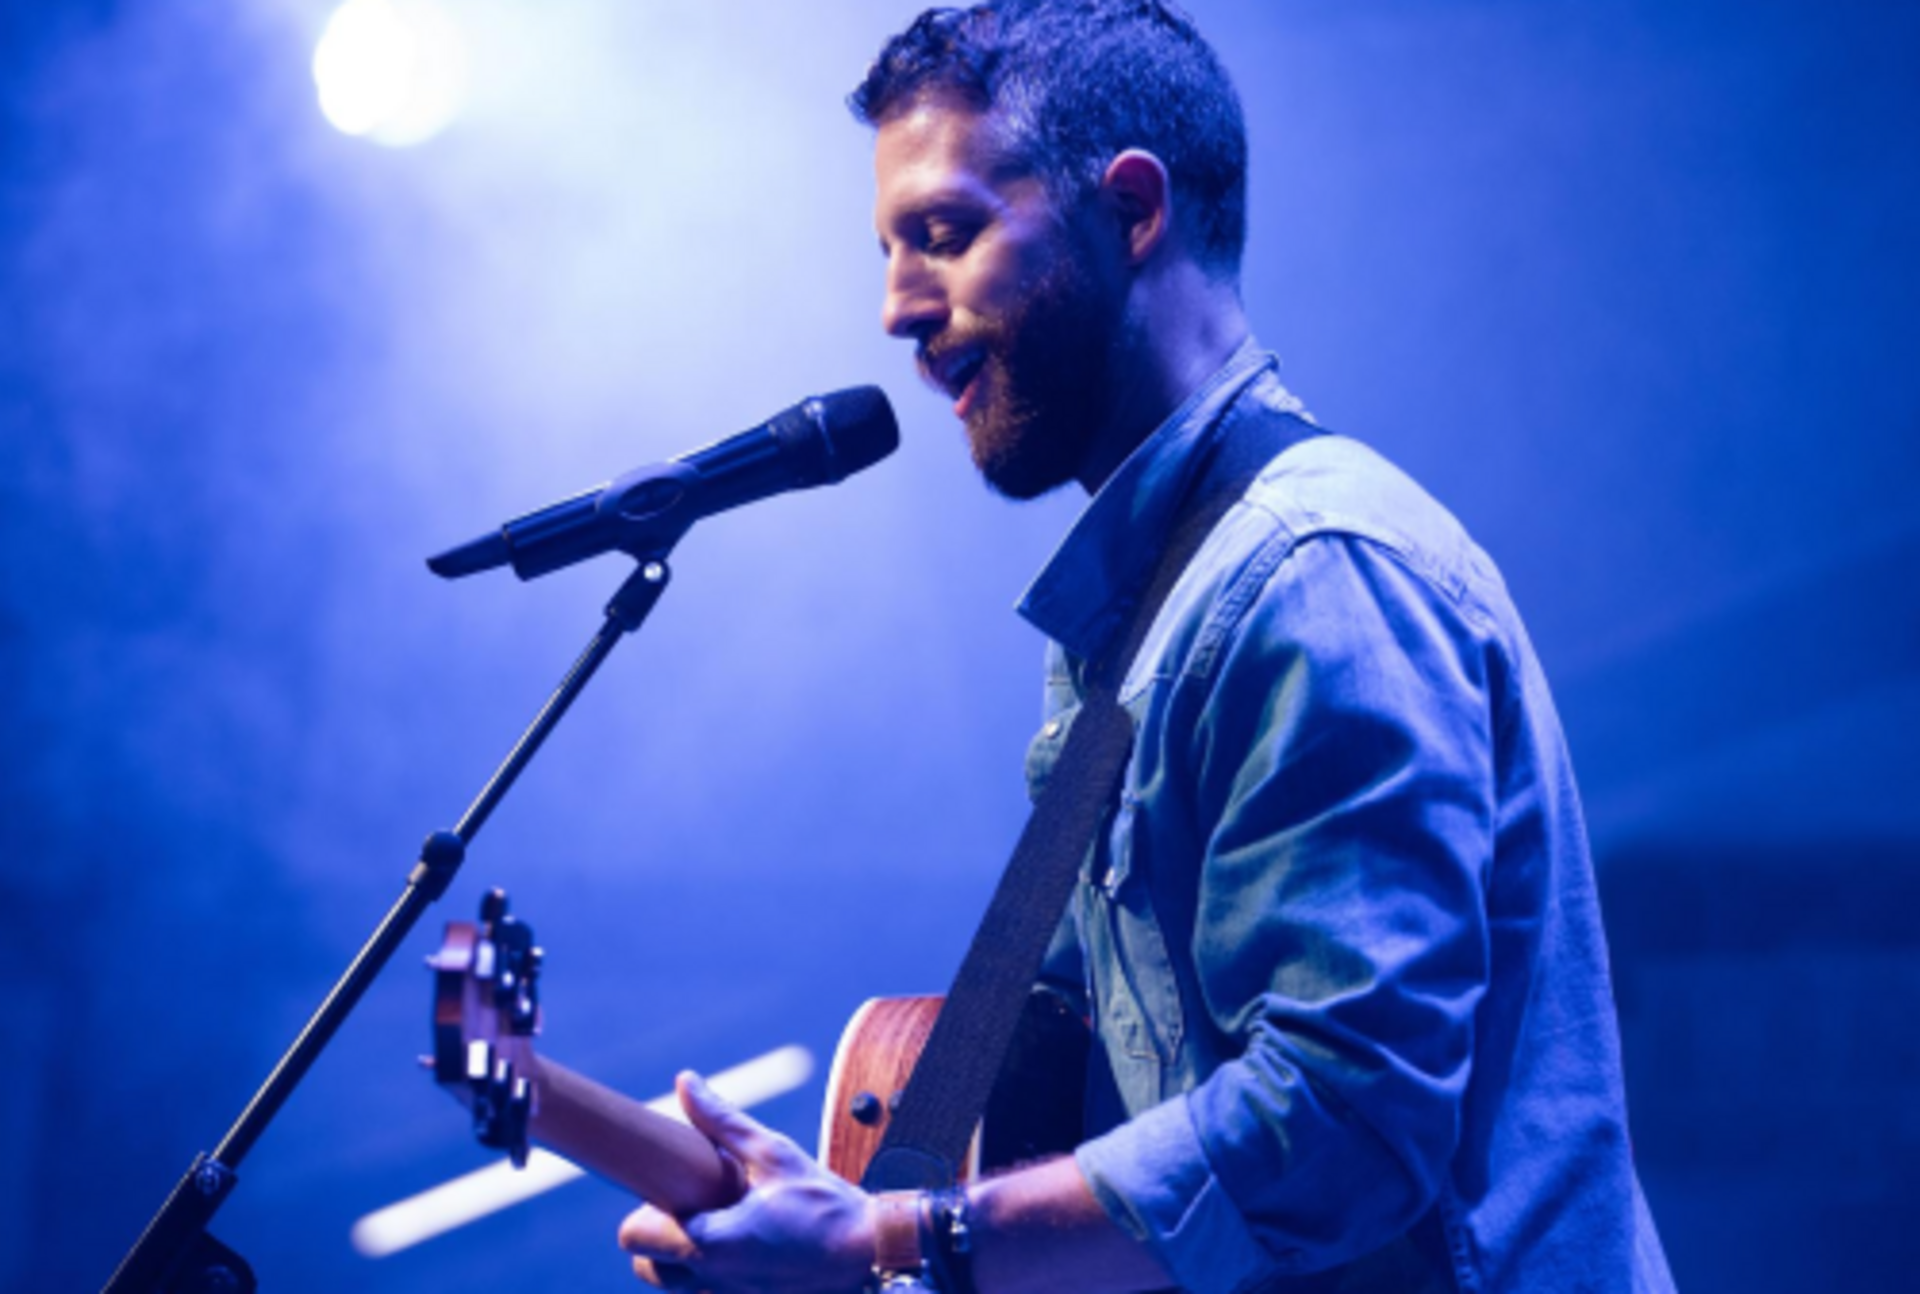
Use Case Scenario: Holiday Vlog in a Busy City
You're filming a holiday vlog at a bustling Christmas market. With the MKE 400 mounted on your camera or phone, your voice stays clear—even with music, chatter, and wind in the background. Later, you record a voiceover using the Profile USB Microphone at home, capturing clean narration without needing an audio interface. Finally, you wrap up your video with a cinematic intro recorded on the MK 4, adding warmth and polish to your content.